A heading goes here

Available in 1.83 x 50m, 915mm x 10m and 915mm x 50m
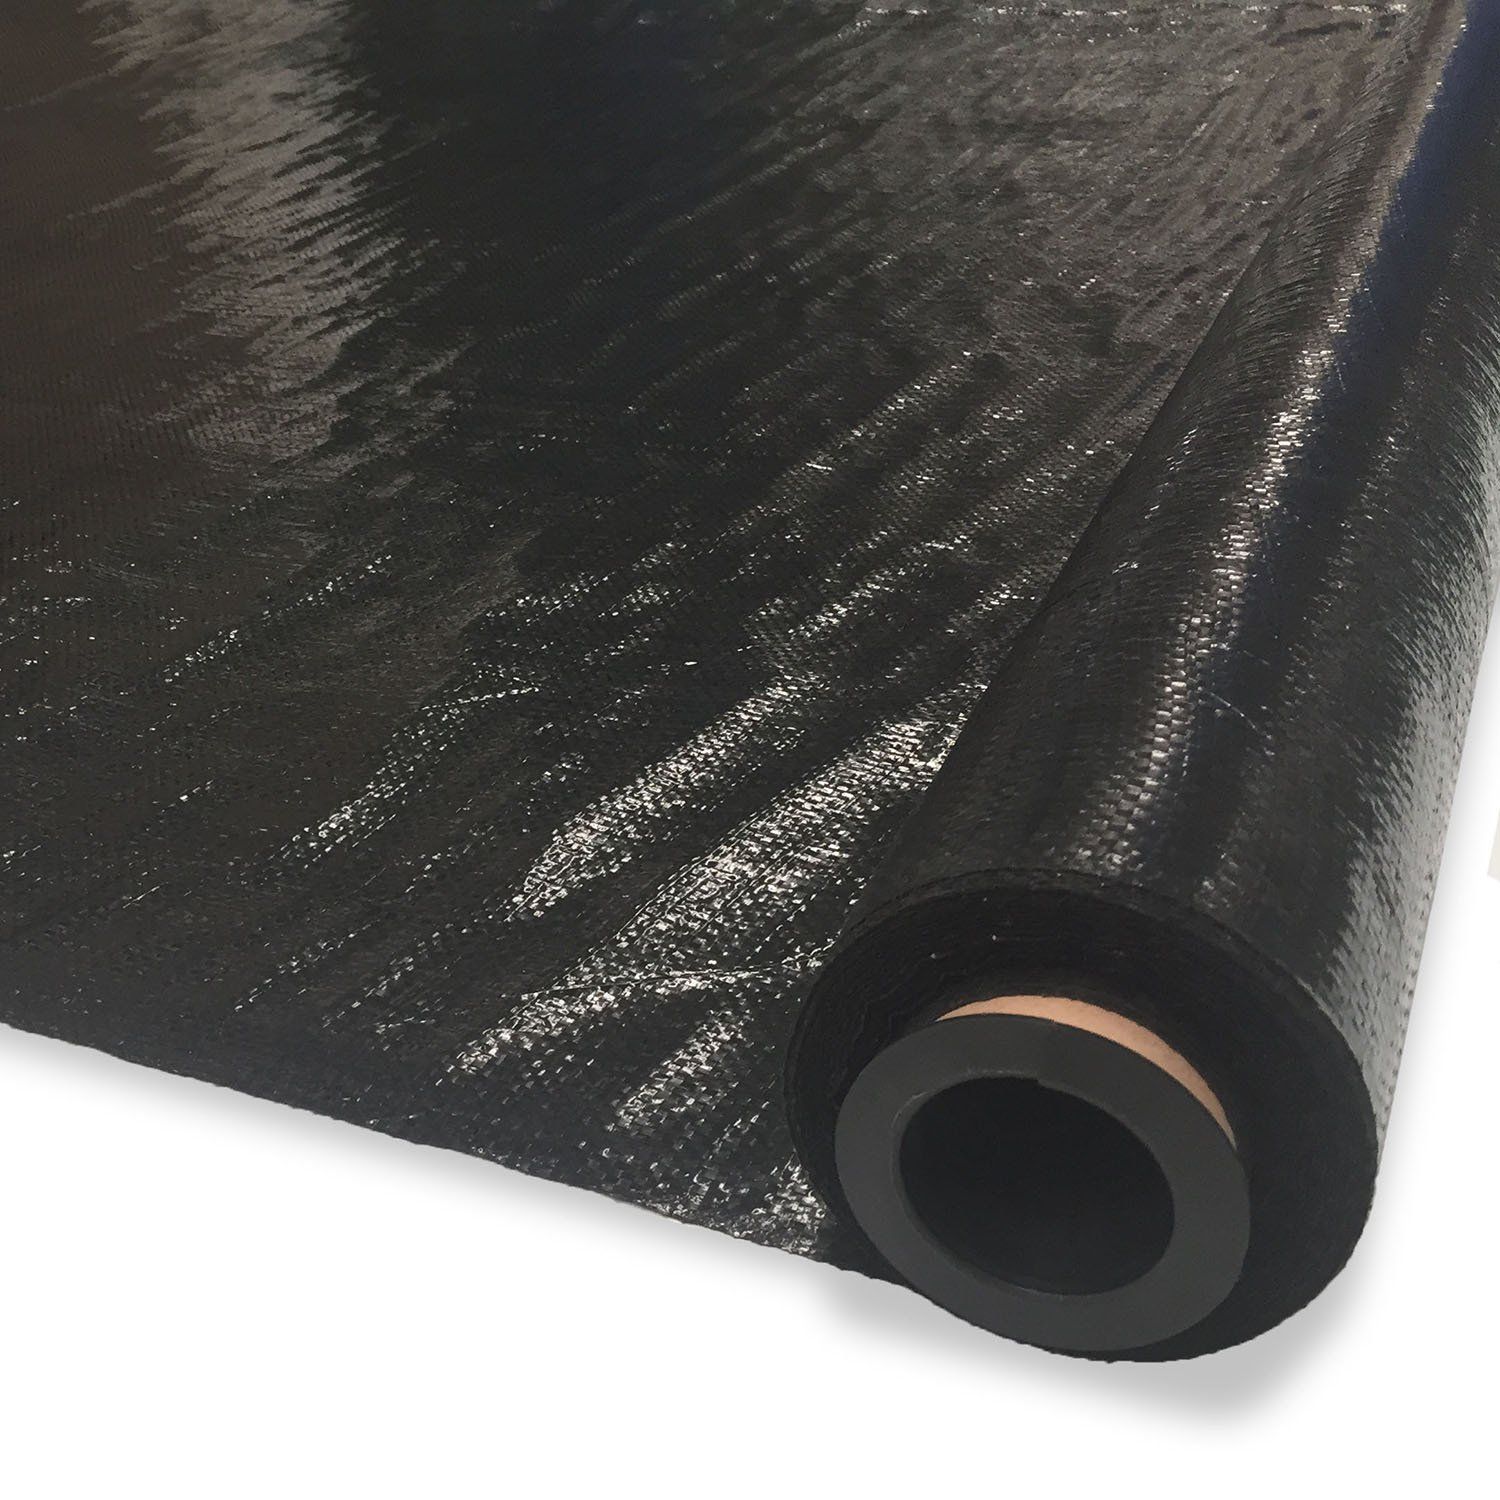
Abmat Domestic Weedmat is a UV stabilised, durable, porous material used to suppress the growth of weeds in gardens, flower beds, and other landscaping areas. Abmat Domestic Weedmat is so easy to use, simply unroll and pin into place using our Abmat Weedmat Staples, it allows air, water, and nutrients to pass through to the soil while blocking sunlight from reaching weed seeds, thus preventing their growth.
How to Use a Weed Mat
Clear the Area
- Remove any existing weeds, plants, or debris from the area where you plan to lay the weed mat. If there are a lot of weeds, you might need to use a weed killer or dig them out by hand before applying the mat.
Level the Ground
- Make sure the soil is smooth and level. You may also want to amend the soil with compost or other organic matter before installing the weed mat for better plant growth
Measure and Cut
- Measure the area where you want to install the mat, and cut the mat to fit using scissors or a utility knife. It’s best to overlap edges by a few inches (about 4–6 inches) to avoid gaps where weeds could grow.
Unroll and Lay Down
- Lay the weed mat flat on the soil, making sure it covers the entire area. If the mat is too large, trim it to size. Avoid stretching the mat, as it should sit loosely on the ground to allow water and air to penetrate.
Secure the Mat
- Use landscape fabric staples or pins to secure the mat in place, especially along the edges and seams. These staples should be inserted into the ground to keep the fabric from shifting or lifting over time.
Covering the Weed Mat
- Once the weed mat is in place, you can cover it with mulch, gravel, or soil to hold it in place and improve its appearance. This also helps protect the fabric from UV damage, as direct exposure to sunlight can degrade the mat over time.
- If you're using mulch, apply it to a depth of about 50mm. If using gravel or rocks, spread them evenly on top.
Planting Through the Weed Mat
- If you're planting directly into the area covered by the mat, you'll need to make small X-shaped slits or holes where you want to plant. Simply cut the mat with scissors or a knife at the desired locations.
- Place your plants into the holes, and cover the edges of the holes with soil or mulch to prevent weeds from growing through the fabric.
Check for Gaps
- After installation, periodically check the weed mat for any signs of wear or gaps where weeds could sneak through. Repair or adjust the mat as needed.
Avoid Overcrowding
- While the mat helps prevent weeds, it doesn’t replace the need for proper plant spacing. Make sure your plants are spaced adequately to avoid excess moisture or plant stress.
Weeding Around Edges
- While the mat controls weeds under the surface, you may still need to occasionally remove weeds that grow along the edges or at small gaps.
Benefits of Using a Weed Mat
Weed Suppression - Prevents most weed species from growing by blocking sunlight.
Soil Moisture Retention - Helps retain moisture in the soil, reducing the need for frequent watering.
Improved Soil Temperature - Regulates soil temperature by providing insulation against extreme heat and cold.
Low Maintenance - Once installed, a weed mat reduces the amount of weeding and maintenance needed in garden beds.
This text is designed to provide basic information, ideas and tips to support your project, it is not professional advice.